
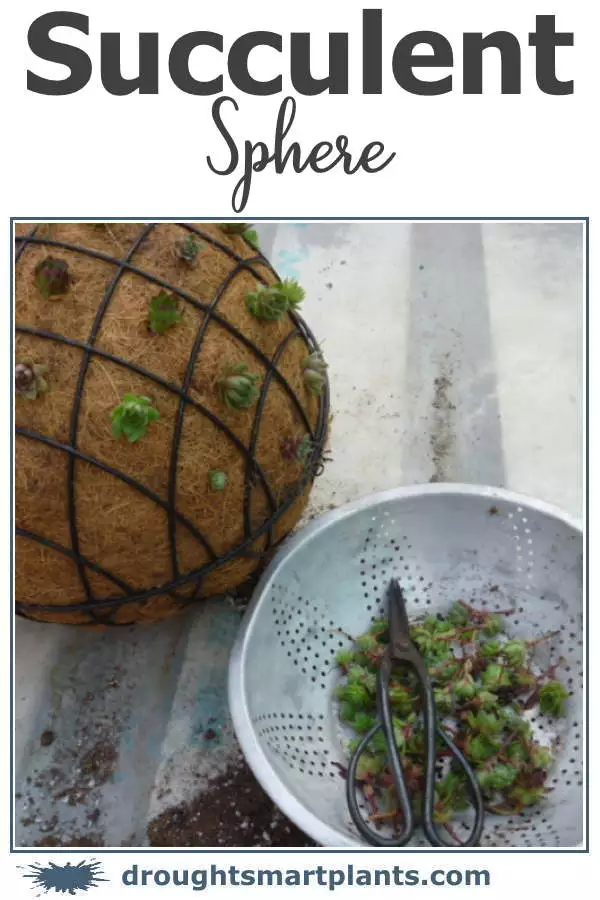
Make your own three dimensional garden art with this diy tutorial
As an Amazon Associate I earn from qualifying purchases.
Other links on this site may lead to other companies that I’m associated with.
I get asked a lot how to make a succulent sphere for displaying in the garden. There is something about the shape that appeals to us.
Whether they’re made from metal, hypertufa or wire, garden spheres add definition, like a punctuation mark in the garden.
Your visitors will come to a complete stop to gaze at them!
I usually use the cheaper MTB Garden Hanging Baskets 14″ Traditional Style with Coco-liner, Pack of 10 / $8.00 each (Also Sold as Pack of 2) with the shaped coir liner, as these are easier to plant into than the better quality coco fiber type. This one is in a package of 10, so you can make several spheres. Any size will work, from 10 inches in diameter to 16 – keep in mind, the bigger the sphere, the heavier it will be!
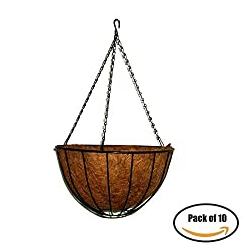
Sometimes, cheaper is better.
I find similar hanging baskets to these at a dollar store, but I’ve also seen them priced economically at larger box stores, in their seasonal department during the summer, or wait until they sell them at a deep discount in the fall.
Make spheres in the autumn, and the plants will overwinter in them rooting happily (hardy succulents, anyway).
See More About Globes, Spheres and Balls here;
For this project, buy two wire hanging baskets the same size. The ones shown here are just under 30cm (12 inches) across – there are many sizes available, and many shapes.
Find the dome shaped ones – any other shape won’t make a globe.
I have used bigger ones, but they are accordingly heavier to display and move once they’re filled with soil and plants, so they can only be placed on a sturdy frame or on top of a large and heavy terracotta, cement or hypertufa pot to show them off.
How To Display Your Succulent Sphere;
Hanging them requires extremely strong wire or chain, as well as a sturdy hook to hang them on, and a safe place to hang them.
As these get so heavy when wet I sometimes choose to display them in a large planter or pot so they look like a topiary.
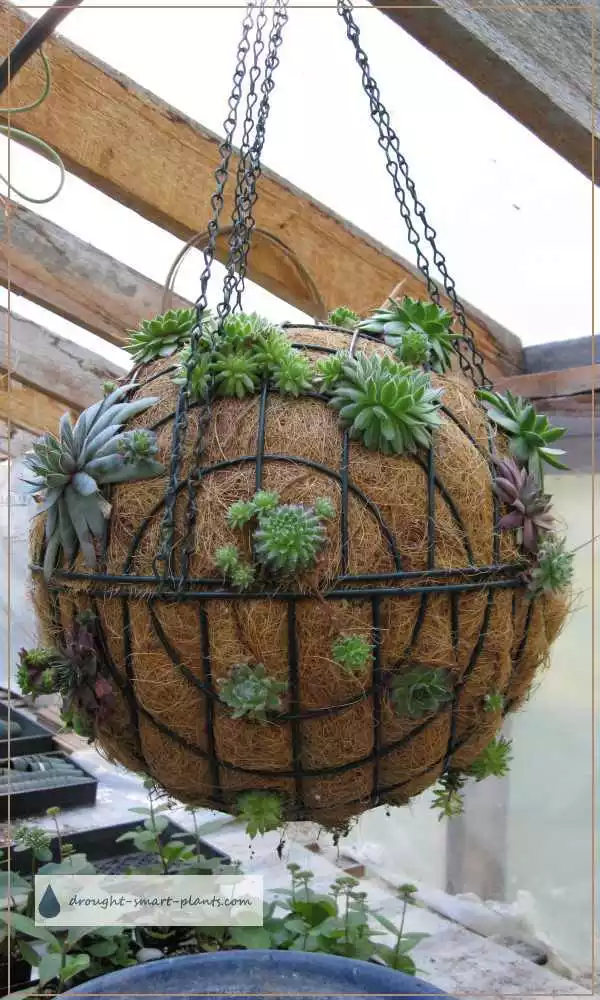
The smaller sized ones can be hung from chains, or wired to support the weight of the filled sphere from underneath.
For the hanging basket type, use both of the chains (one from each basket) to make doubly sure they’re going to hold.
I’ve also seen smaller ones yet with a pole stuck into the bottom of them which look like topiary trees.
Or, if the sphere ends up too heavy to hang from chains, set it on top of a cool vase, or any other container like a large terracotta pot, a Versailles planter or square wooden box.
Fill the container with lava rock or pebbles to give it the excellent drainage it needs, and for weight to balance the sphere on top.
How to Make a Succulent Sphere: A Tutorial:
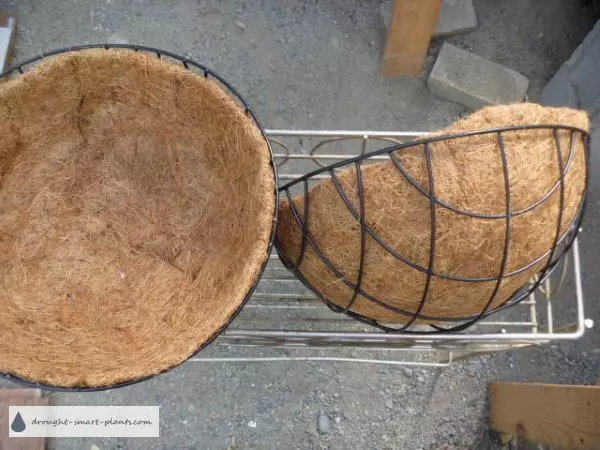
Choose two identical wire hanging baskets…
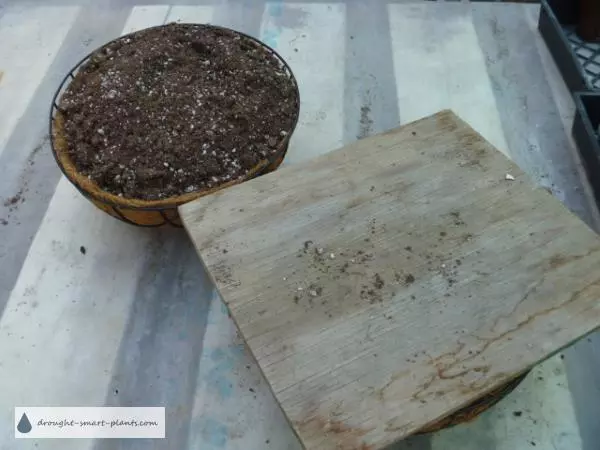
Fill both hanging baskets with potting soil…
Place a board on one, and turn it upside down onto the other one…
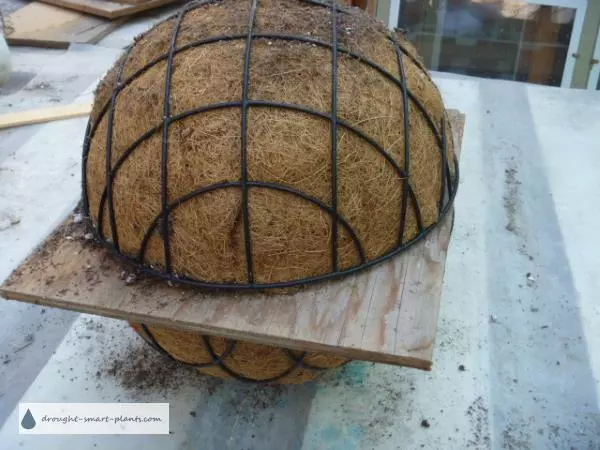
Pull the board out from between the hanging baskets…

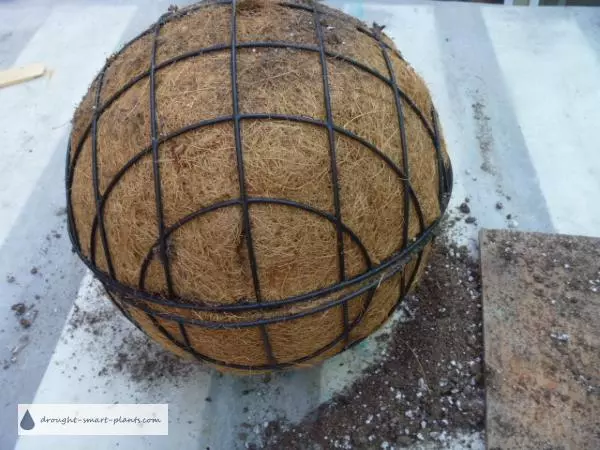
Wire the two hanging baskets together…

And pin or insert small cuttings or chicks into the sphere…

Mist for a week or two until they’re rooted…
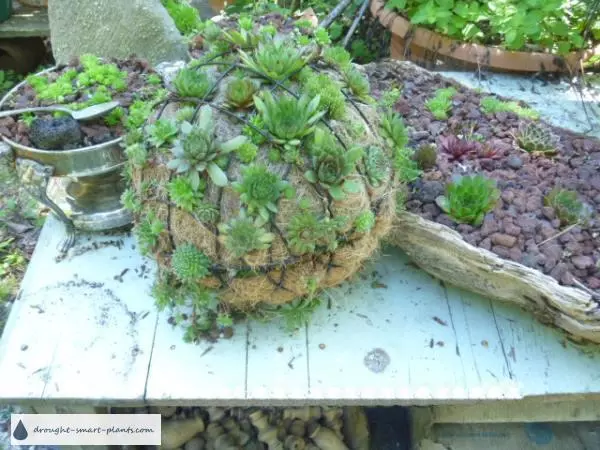
And a few months later, they’ll be growing happily…
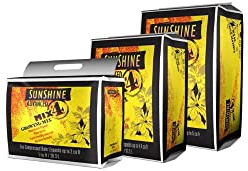
So, you have your two wire baskets. I fill them with Sunshine mix #4, which has extra aggregate in it for drainage.
Keep in mind that this will eventually break down, and hold too much water, but for a season or two, your succulent sphere will be gorgeous.
Pack the soilless potting mix tightly, so it fills the space entirely – leaving pockets of air makes the liner sag eventually as the coir fiber softens.
Click to Tweet: Make your own gorgeous Succulent Sphere…

Place a piece of plywood or a thin metal plate over top of one of the baskets, then flip it over onto the top of the other one.
Carefully draw out the plywood or metal, so the soil stays in place.
Wire the two baskets together at their rims in at least four places.
Get The Right Soil!
Don’t use peat moss, as some people say to use. You’ll never be able to re-wet it if it gets dry. It’s essential to use something like Sunshine Advanced Mix 4 2.2
which has water holding polymer in it so it can absorb water.
Collect enough Sempervivum chicks with a short piece of stolon still attached to hold the chick in place until it roots.
Make a small hole in the center between where the wire basket pieces cross over. Squeeze the Sempervivum chick stolon into the small hole.
Eventually, you will have to replace chicks or guide new chicks to take root in any blank spots.
Use many different kinds of Sempervivum for a mosaic appearance, or only two or three for more impact.
The chicks can be tucked into the coir fiber, and held in place with floral pins until they root.
Late July to September is the best time to make your Sempervivum sphere, as there are lots of chicks forming at that time of year; as well, there is time for the chicks to root before winter.

To over winter your succulent sphere, if you’ve used Sempervivum as I recommend, the winter care is easy.
Take the sphere down if it’s hanging and place it in a corner of the garden where it won’t get disturbed, and cover it with leaves; if you get some snow, even better.
This protects the plants from temperature swings – to prevent damage to the plants, it’s important to eliminate the possibility of freezing and thawing.
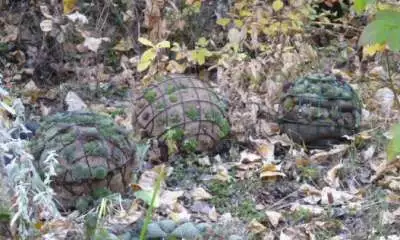
Overwintering Sempervivum spheres in a perennial bed
Once the coldest part of the season is passed, inspect the succulents and replace as needed, fertilize with water soluble fertilizer or compost tea a couple of times per growing season.
Your three dimensional succulent sphere will only get better with age, and eventually you won’t be able to see the wire baskets as they become covered completely by the happy Sempervivum.
Just so you know: Sempervivum are a hardy perennial, and MUST have a dormant period. Therefore, they won’t survive inside your house.

Other tender succulents that will work just as well are Echeveria, Graptopetalum, some of the smaller Crassula, Senecio rowleyanus and many more miscellaneous succulent plants.
The best types of succulents to use for crafts are low growing species and those that form clustering rosettes.
This way, they can cover the surface of the mosaic, sphere or topiary and hide the moss or coir that contains the soil.
More pictures of the Sempervivum Spheres here (yes, you can use other succulents!)

A group of Sempervivum Spheres just coming out of dormancy; just wait a while…
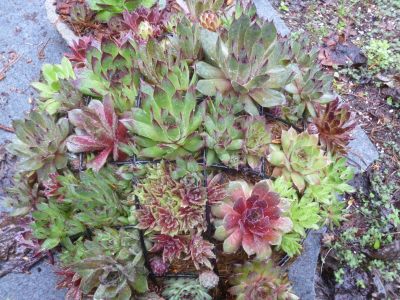
The glorious result in May 2013
