
Tips and Tricks from the Nursery
The cheapest and quickest way to build up your Sedum collection is by buying cuttings online, or raiding a friends garden – with permission, of course.
But then what? Sometimes, if you buy a batch of Sedum cuttings from an online nursery, they show up looking bedraggled and a bit beat up from a long journey in the dark.
Selling Sedum cuttings was my stock in trade for a long time, and I got some valuable feedback when I first started.
First of all, don’t send them wet – or even damp. They need to be dry. As in, really dry. Then they ship in the mail very well and arrive at their destination ready to plant.
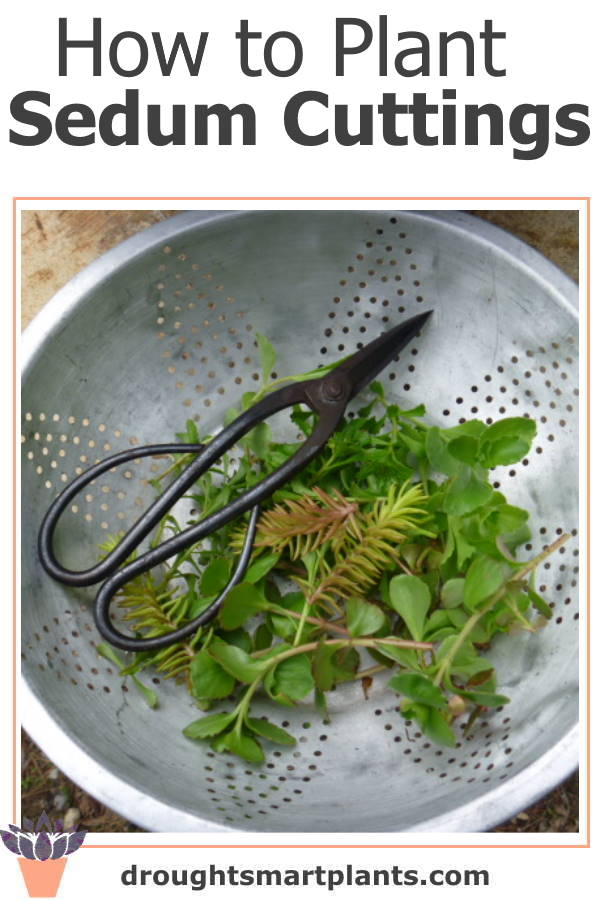
When I collect this type of cutting, I use a colander, which has holes in so no water will inadvertently collect and cause rotting.
To cut them, I use one of my favorite tools for propagation, Japanese bonsai scissors, which have sharp blades, avoiding any possibility of crushing the stem.
Some species and varieties (I’m lookin’ at you, niveum) are so tiny and thin that there’s no way you can stick them, which is the technical term for ‘inserting them into the soil media’.
But there’s a trick to it, and once you know it, you can use this for lots of slender and flimsy cuttings, such as Thyme and similarly lightweight plants.
What’s the trick you ask? This is it; use a bamboo skewer or other slim stick to poke the ends of the Sedum into the dry Sunshine Mix #4, which is my recommended soil mix to use for this type of hardy succulent.
I’ve also used a nail, but the skewer gives you more control.
The technique is to hold a clump of three to five cuttings, making the base of the cuttings even.
Hold those in your left hand (or whichever hand is non-dominant). Use your fingertips to loosely hold them.
Then with the ends of the cuttings held close to the soil surface, press on them with the pointed end of the skewer, and insert them down into the soil.
No need for the use of rooting hormones – Sedum contains its own and doesn’t need anything extra.
For sturdier but floppy cuttings, make a hole in the media to guide them in. Use the squared off end of the skewer for this. Some cuttings are covered in leaves right to the base, no need to remove them though! The roots will get out, and the leaves will just fall off.
The soil mix needs to be dry, which escapes most people when first starting out with these plants.
Don’t worry, you will be allowed to water, eventually. But not before the sticking procedure is done with, and maybe not even then. They can be left in the shade for up to a week, before watering.
They won’t like being left in the blazing sun, even though as adult plants, fully rooted and established, that is their preferred exposure – dry and full sun.
That’s the next step though – right now, we’ll concentrate on how to stick them. They need to be a length that is applicable for their type. Some Sedum are husky critters, like Sedum spurium varieties.
The stems are sprawly and quite robust, unlike the tiny frail stems of Sedum pluricaule with its puffy mauve leaves.
Some other types drop their leaves at the slightest disturbance, leaving a bare stem. Sedum rubrotinctum and other round leaved types do this, but don’t let that stop you – these can just be laid right on top of the soil surface to root, fallen leaves and all.
If you have a lot to do, stick them in rows in a shallow flat. This makes it so much easier to transplant after they root.
