
An Illustrated Guide; Directions and Tips
All is going great, all your plants look fine – until they don’t. What do they need? More water? Fertilizer? Maybe they need to be repotted into a bigger pot with fresh soil.
Don’t be scared! This is a totally simple process, and I’ve got the pictures to tell you exactly when to repot your plants.
Get prepared; set up a potting area, before you start. You’ll need a table or bench to work on, and your supplies.
Follow the guidelines on how to choose the right size of pot here.
The right soil is essential for healthy growth. Find out more about that here. Use a basin or bowl to put the soil in, it’s much easier than trying to get the soil out of a bag.
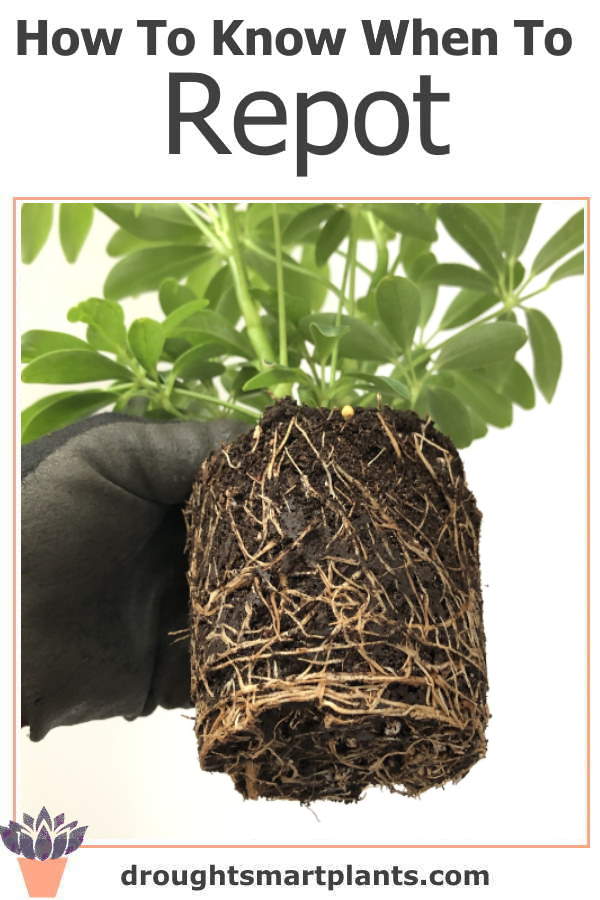
The first part in the process is to take the plant out of the pot, to inspect the roots. The plant, if the roots are entwined, will come out easily and stay in one piece.
Do this over a piece of newspaper or outdoors because it often makes a mess.
Remove any pebbles or mulch first, then put your hand over the top of the soil, around the stem of the plant.
Then turn it over, and pull the pot off the root ball, leaving that in your hand. If the plant doesn’t want to come out, tap the rim of the pot (gently) on the edge of a table or bench to encourage it.
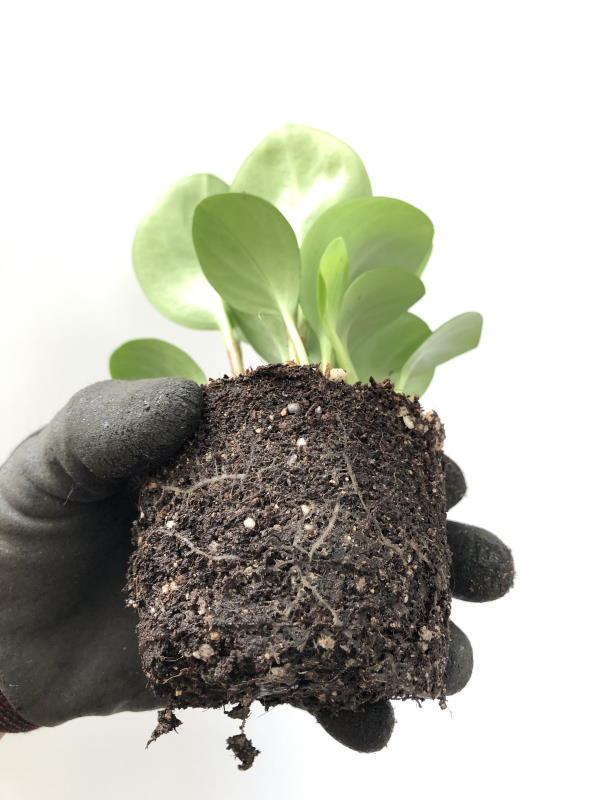
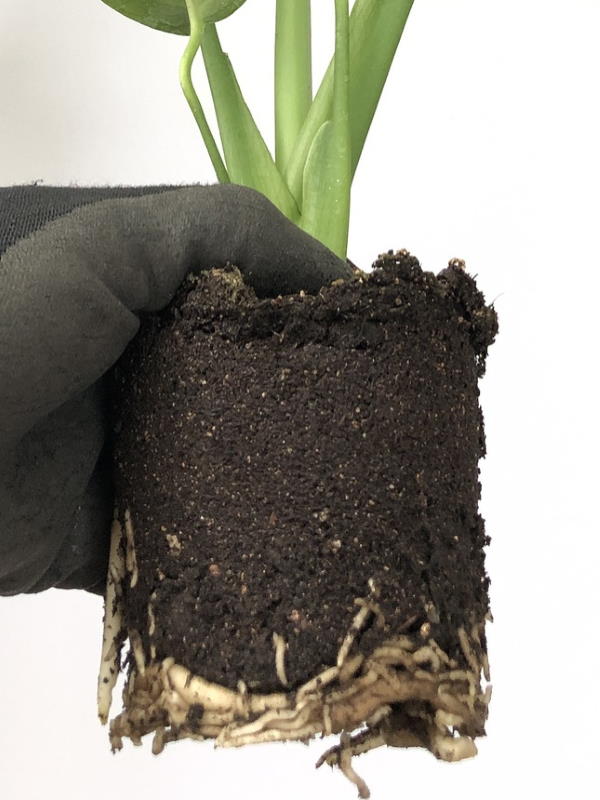
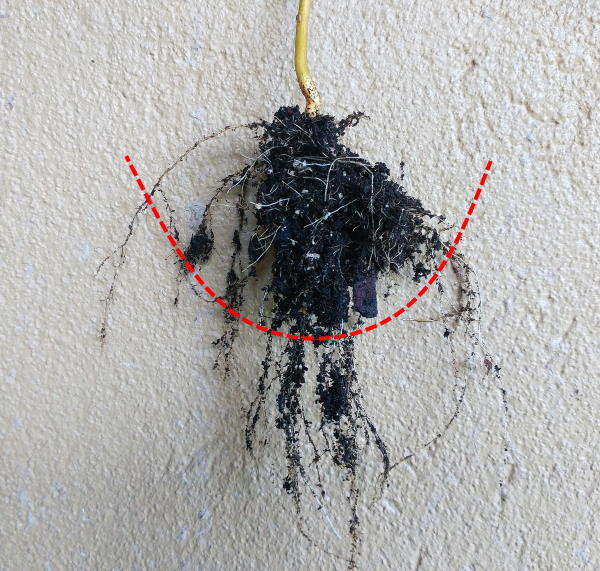
You should be able to see the roots – if not, and all you see is soil, put the pot back on, this is not the time to repot it.
If the roots are visible, and just starting to emerge from the root ball, this is a good time to make a decision; you can choose to leave it for a few weeks, or go ahead and repot it.
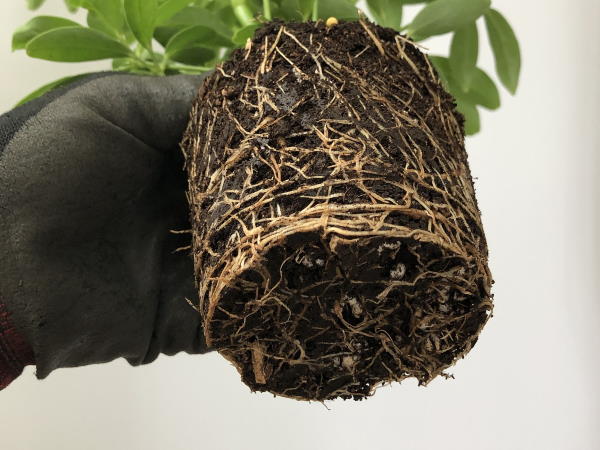
If the roots are twining around each other on the bottom of the pot, it’s time for action!
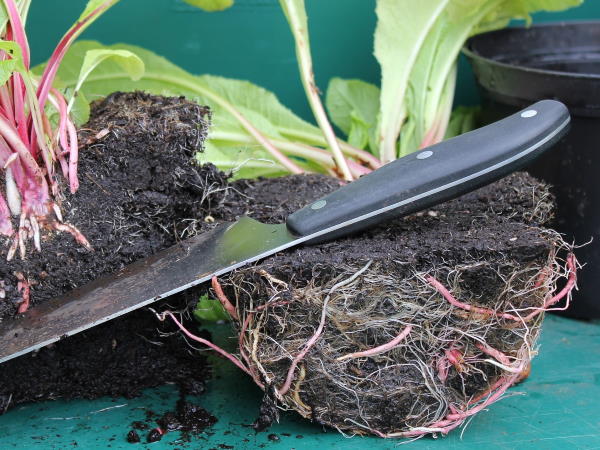
If they’re not too heavy and you can untwine them, do that. The soil will most likely fall apart while you’re doing it, but that’s okay.
If the roots are really long, cut them off close to where they were originally, as they’ll never fit into your new pot.
Alternatively, just make a few cuts up into the root ball, instead of untwining them.
This actually disturbs them less, giving them more chance at survival.
There are some occasions when it’s necessary to cut the rootball right in two; this would only be possible when the plant has multiple crowns.
If you have a plant that seems to fit perfectly in a decorative pot, loosen the roots, then trim them.
Trim the top of the plant to match, then repot it in fresh soil back into the same pot. This won’t work for long though! Be prepared for the plant to need a bigger pot eventually.
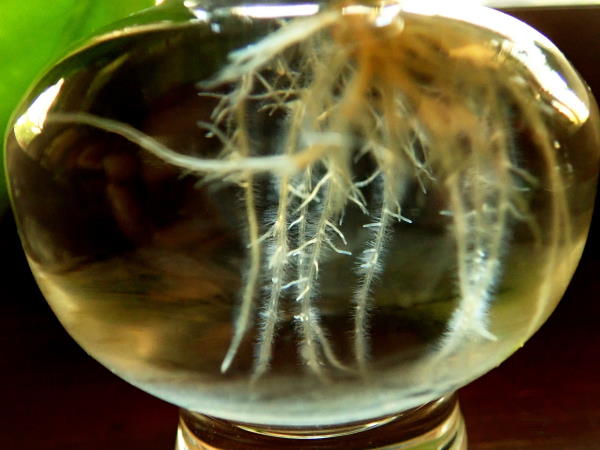
Do you like to root cuttings in water?
They should be barely rooted when you pot them up into soil, as the longer you leave them in water, the worse their chances of successfully adapting to soil when the time comes.
Planting
Most plants need to be repotted to the same level in the pot. This is by no means a hard and fast rule, just a general guideline.
Sometimes, a plant that is too tall needs to be potted down, and it will make new roots out of the (now) submerged stem.
Examples include Echeveria that have long, leggy stems, tomatoes, and others.
Look for nubby little bumps on the stem; these are adventitious roots, where new rootlings will emerge. Those plants will succeed being potted down.
The best way to pot a plant into the next size of pot is to put some soil in the bottom, a handful or a cupful, depending on the size of the plant.
Spread the now loosened roots over the soil, then holding the stem with one hand, put handfuls of soil around it.
You can jostle the stem a bit, to settle the loose soil around it. Keep filling, until you get to the top of the pot. Don’t leave too much ‘head room’ or space at the top – this just looks novice.
Tap the pot gently on the potting table to settle the soil into all the spaces. Make a judgement call on the level of the soil compared to the original soil level of the plant.
Looking good? Add pebble mulch, lava rock or shale.
Water it, unless it’s a succulent, and then put it to drain and adapt to its new environment.
See more about watering succulents here.
