
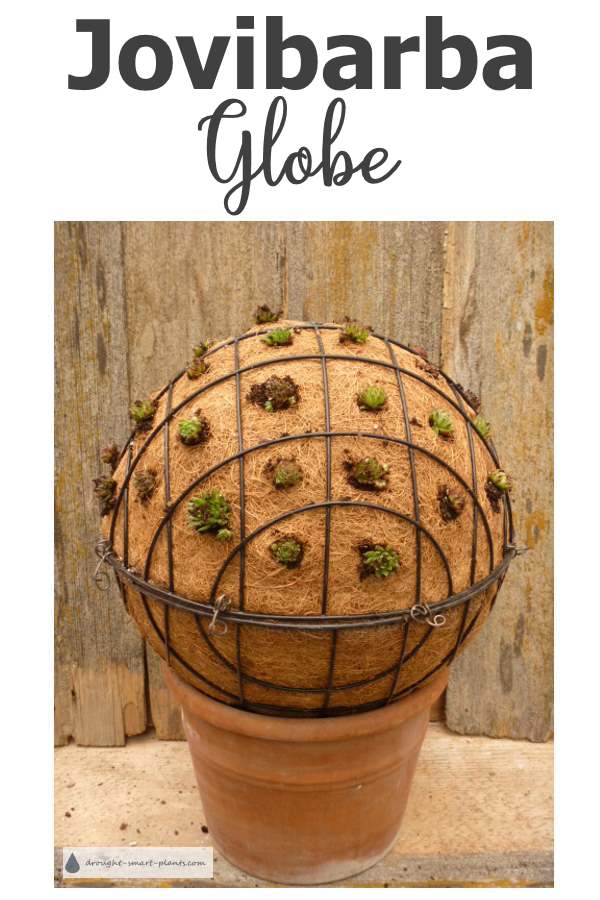
A Textural and Colorful Garden Craft
Now that you have some happy Jovibarba and they’re making rollers like mad, what on earth do you do with them? I suggest this great project; a Jovibarba Globe.
For those in warmer climates, these popular spheres or globes can be made with tender succulents and taken indoors when the weather cools down.
Here in Canada, we have fewer options, so we have to make the best of it.
Luckily, once Jovibarba get settled in and are happy, they’ll make lots of the little propagules which can be left to get roots, or planted without – they’re so accommodating!
Fortunately, Jovibarba and their close cousins, Sempervivum, are very amenable to using in crafts like these, with added benefit of being really hardy, and quite happy tossed into a corner of a garden bed for the winter.
They emerge in the spring, looking fresh and ready to go when the weather warms up.
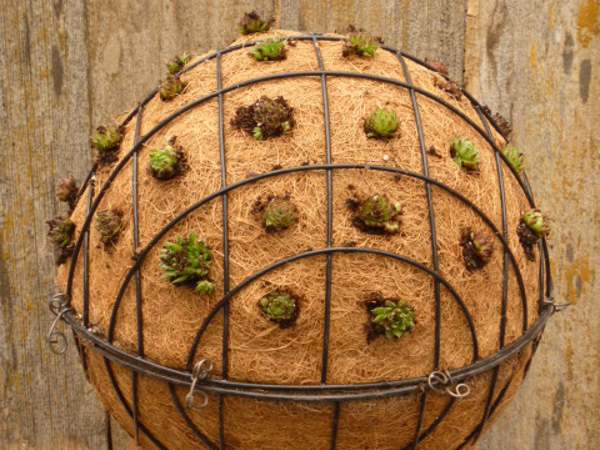
These Jovibarba globes are so easy to make, following the same tutorial for a Succulent Sphere.
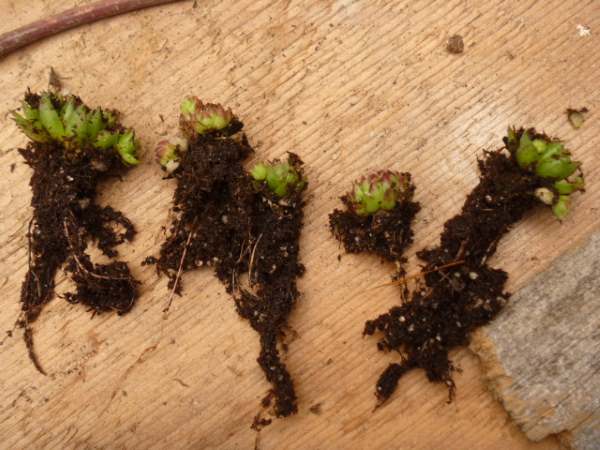
The only difference is that you won’t be able to simply stick the stolons of Sempervivum into the sides, you’ll have to dig a little hole due to the way the roots are formed – I use the sharp Bonsai scissors, one of my favorite tools for crafts and propagating.
Any other implement will work just as well; chopstick, knitting needle, old steak knife or skewer.
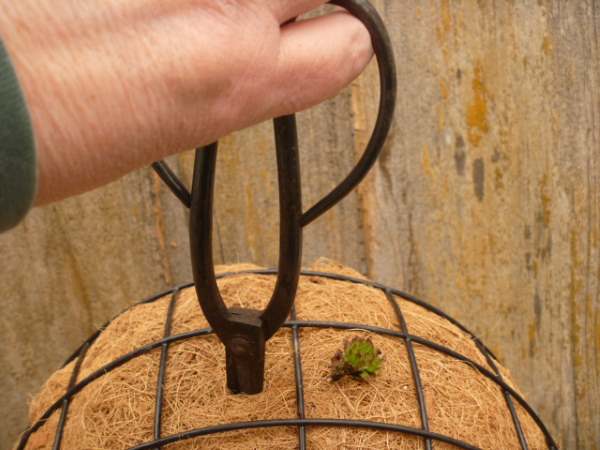
Simply stretch the coir fibers of the liner apart, don’t cut them.
The little rosettes of Jovibarba are firmly rooted – I keep an open flat handy for throwing the rollers in during the summer as I repot and find them escaping, and in the early spring when I make these globes up, I have lots of well established little plants.
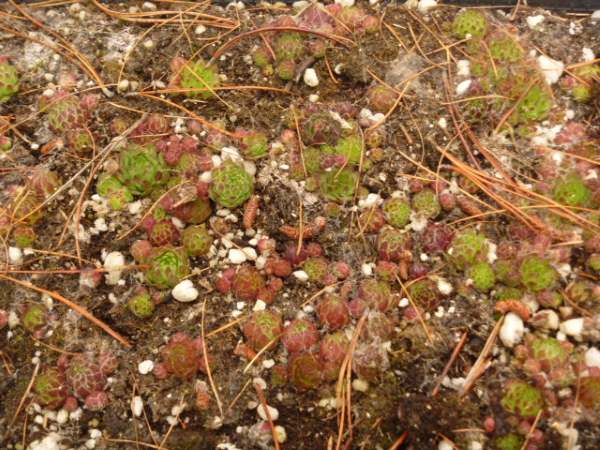
Many of them have chicks already, which generally fall off, to go back into the open flat and root by themselves.
Twirl the roots of the rosettes into a tube, don’t worry that you’re hurting them; they quickly make more and get established.
The old roots are just to keep them in place until that happens.
Stick a rosette into each space, using a small stick to poke the roots into the hole.
In time (I’m anticipating by the end of the summer) the whole globe will be covered, making a gorgeous, multi coloured and textural centerpiece or focal point.
