A Hypertufa Trough, with Mountain Attached
Last fall, in one of my frenzies of making hypertufa, I salvaged the base of a bird cage, and used it for a mold for a shallow trough type pot.
Over the winter, I thought about what I wanted to do with it, and decided to use some of the marble pieces that were given to me by a relative – they know how creative I am.

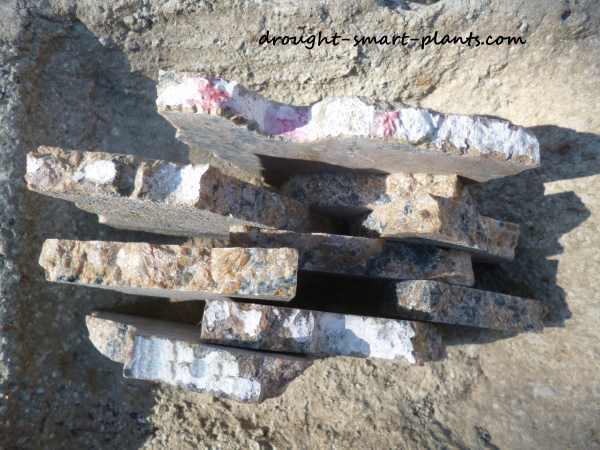
The pieces of marble are pink, veined with brown and beige. These are the pieces cut off a giant slab to make counter tops, and the manufacturer has a pile of pieces, free for the taking.
I have quite a selection now, but these are thinner than most of the other ones, and also have the natural wavy edge on them.
Several pieces were sacrificed for this project – I just hope I have enough for my other ideas too.
I didn’t know how satisfying it would be to break up some of the pieces. A sledge hammer, judiciously applied, achieved the results I was hoping for.
As always, proper safety when doing this is essential; gloves to prevent sharp shards from damaging your hands, and especially eye protection. Don’t be too gung ho that you get hurt.

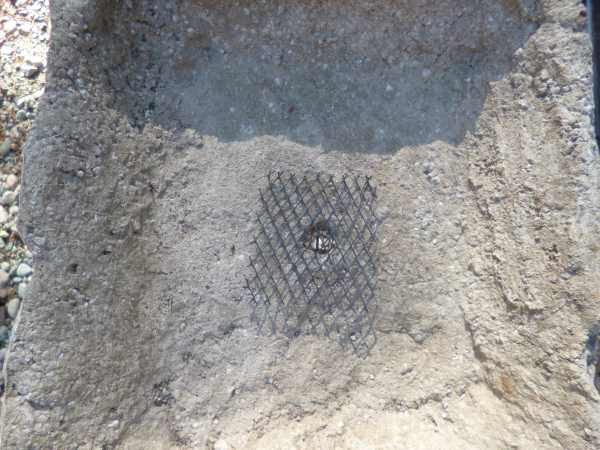
As usual, I made a large drainage hole in the bottom of the base of the trough.
You will need to cover it with mesh to stop the soil from falling out, and to stop creepie crawlies from getting in.
The general idea of crevice gardens is to place the slabs a few centimeters apart, and fill the space between with soil and fine gravel, just as it would occur in a mountain peak.
Then the plants can find their way to the soil below, and the rocks will also hold a bit of moisture, keeping their roots cool, just the way they like it.
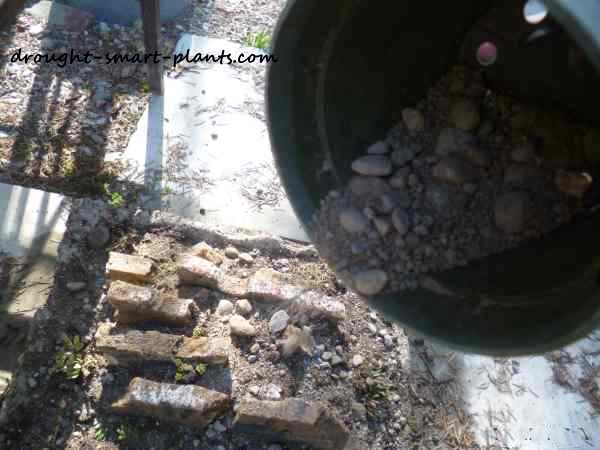
Smaller pieces were stuck down out of sight to space out the bigger pieces, then the whole thing was filled in with the soil, which was poked down into all the crannies with a pencil.

The side view gives you an idea of how I arranged them – the more natural, the better. You’ll notice that there’s no soil, yet.

Using dry soil, mixed with gravel, it was easy to sprinkle it over and have it go into the crevices – that’s what it’s all about, after all.

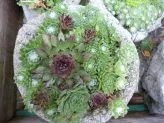
More soil, then the little plants – in most cases these are just cuttings or small chicks pulled off the mother plant. I aimed for smallish species, like Sempervivum arachnoideum among others.
Small alpines, stonecrops and hens and chicks are the perfect choice. They’ll root in quickly now that the weather has warmed up.

I sprinkled some smallish gravel over the lot, just like icing sugar.
I watered the whole thing to settle the soil around the marble slabs.
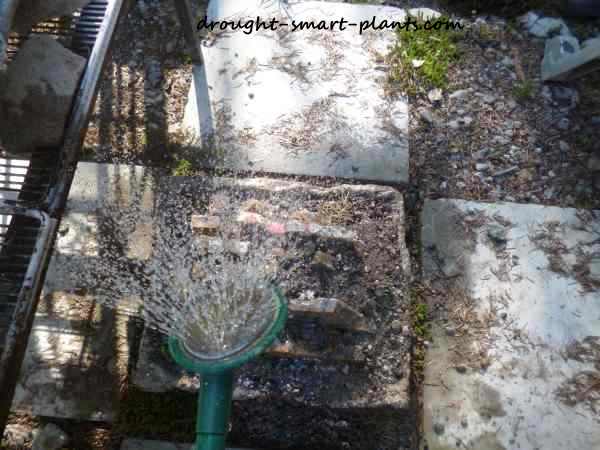
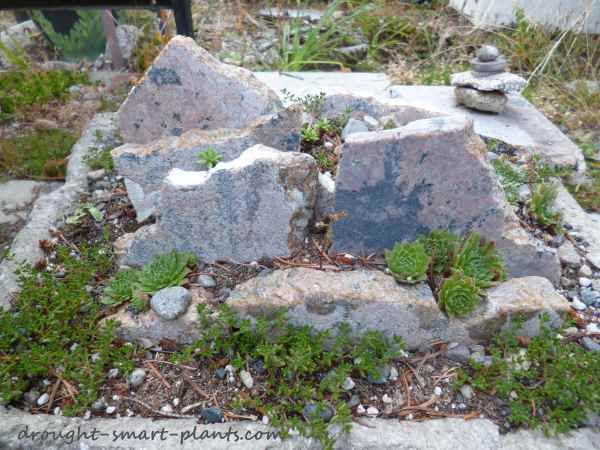
Now we wait and see how it looks over time.

Show off your planter if you’ve followed along with this tutorial on how to plant your crevice garden – I would love to see it! Post a picture on the Drought Smart Plants Facebook page, and brag it up.
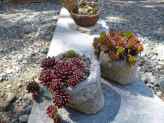
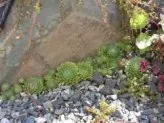
The crevice garden in September, after a hot dry summer.
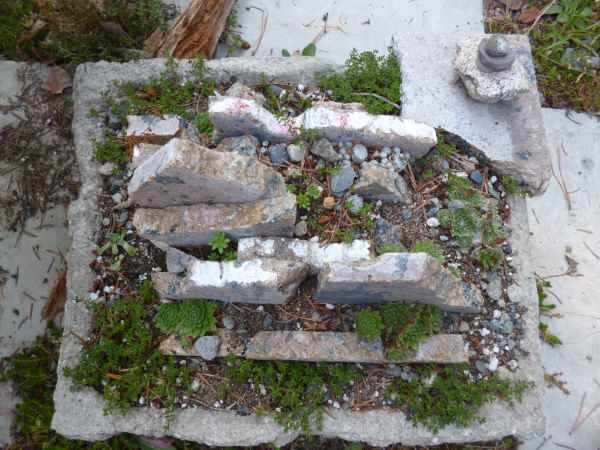
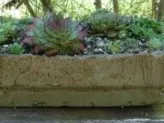
Later, in June 2016, this is what it looks like – gorgeous huh?

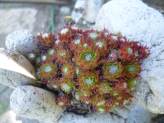
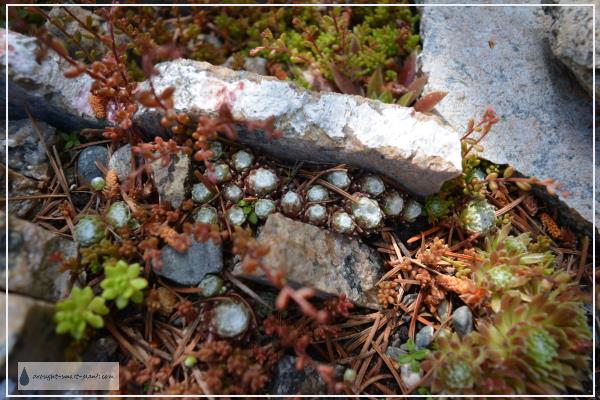
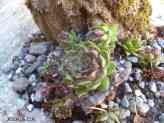
And a close up of some of the tiniest Sempervivum. I chose all small scale types for this; Sempervivum arachnoideum mostly.

Wanting more of this kind of information about Hypertufa? Buy the Manual!