Keeping your Fish Happy and Healthy
As an Amazon Associate I earn from qualifying purchases.
Other links on this site may lead to other companies that I’m associated with.
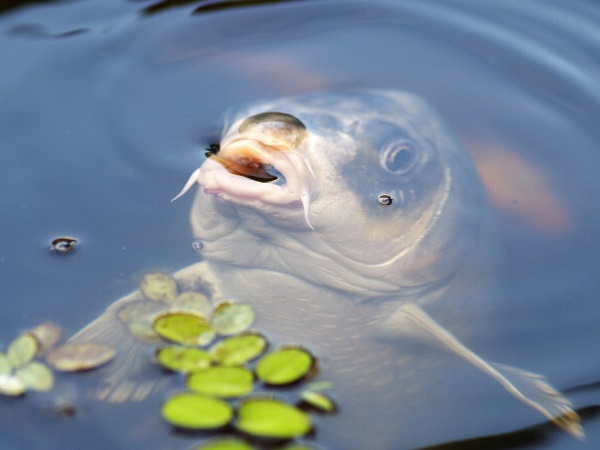
It’s obvious; fish breathe water through their gills. So, it stands to reason that you need to keep it clean, right?
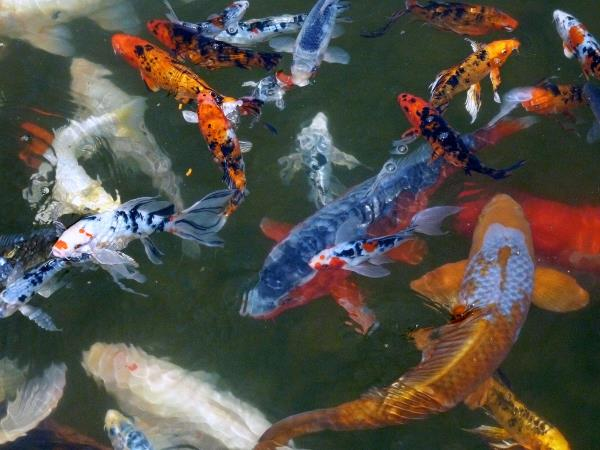
Koi, even though they can actually breathe air, are no exception.
Plus, as bottom feeders, they do tend to muck up the water, which means that most of the time you can’t even see them, and that’s most of the enjoyment of having koi or other fish in your pond.
So, filter the water!
This does two things; one, it takes out any larger particles of organic matter that the fish disturb from the bottom of the pond, and second, it adds more tiny molecules of oxygen, which benefit the fish when they breathe it.
There are only a few parts to making this pond filter, which you may or may not have already. I’ll bet you have a big 20 liter bucket in your shed.
Make sure it’s a food grade one, not one that had paint or other chemicals in it. One from the deli or ice cream parlour is best and much easier to clean.
You can get special crystals or spray which are harmless to fish to make sure they have no residue in them.
Fish Safe Cleaners from Amazon;
The next thing is a pond pump to lift the water from below the surface of the pond up to the filter. Get one that is strong enough.
A Selection of Pond Pumps from Amazon;
The final thing is lava rock. I generally use the kind that is meant for landscape mulch, but as long as it’s in big enough pieces, the type for barbecues will work also.
Lava Rock options from Amazon;
So now you’ve assembled all your supplies, here’s how you make the filter;
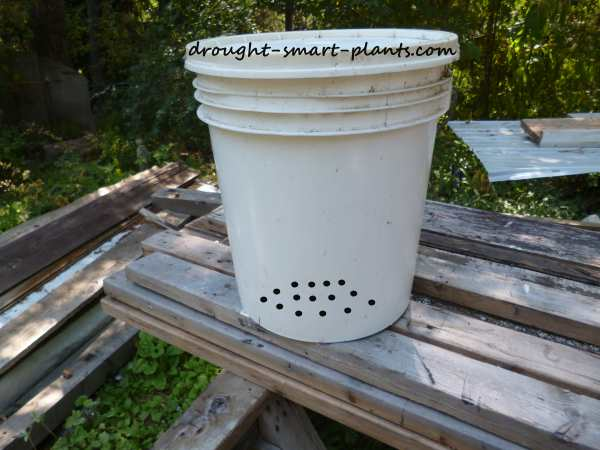
Drill holes near to the bottom of the bucket using a drill size smaller than the smallest pieces of lava rock that you’ll be using.
You can start about one to two inches from the bottom, several lines deep.
This is to allow the cleaned and filtered water to flow out.
The definitive number of holes will depend on the size of your pond pump. The larger the pump in terms of gallons per hour, the more holes you will need.
The amount of water going into the filter should equal (approximately) the amount draining out of the bottom.
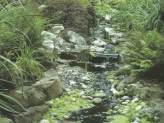
Drilling the holes on only one side of the bucket will allow you to make a waterfall at the same time by placing the bucket on a slab of rock so the water will fall a few inches into the pond, making a win/win situation; a trickle of water to please you, and more oxygen in the water to please the fish.
Dump the lava rock into the bucket, and rinse well to get any dust or small particles out (before it goes into the pond).
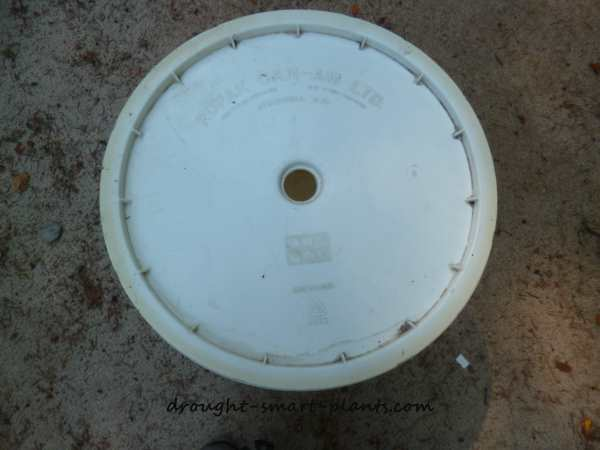
Drill a larger hole in the lid of the bucket to insert the hose of the pump. Lots of bucket lids have a hole already in them, so if it fits, omit this step.
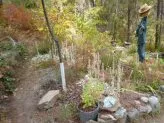
Place the bucket higher than the koi pond, and hide it with some larger rocks, a decorative pot or a bin made of wood. The water should have some way to drain back into the pond, such as a waterfall.
Things to watch for;
- The water could evaporate more quickly than usual because of the air that is being added to it, so monitor that for a few days, and add more water to the pond if necessary.
- The bucket will be heavy with the weight of the water and the lava rock – make sure it’s stable and can’t tip.